

image: Puli pithe with chushi
Dear friends,
Today I will share with you a recipe which is now almost a lost recipe. "Puli pithe with Chushi". When I was a kid, I saw my grandmother and my mother prepared "Chushi" couple of days before making this particular pithe. This helps Chushi to last long. Now when I sit to write the recipe the picture of my grandmother and my mother's visible infront of my eyes." Time and tide waits for none". Often I think if I could invent a time machine then definitely went back to the past so that I can see my mother once again. Anyway maybe this could make you all feel bored, let's go back to the topic of recipe. Actually 'Chushi' is look like a big rice grain. During " Poush Sankranti" when palm jaggery is also available we Bengalis are prepared varieties of "Pithas", though now a days maximum people bought it from sweet shop. "Puli" is maybe you can find out but "Chushi" has beed almost lost. So I thought to note it down in the blog, so that this recipes can lasts for long long years. Those who love to cook can try it, this dessert is just awesome to taste in winter. If you follow my process to make the Chushi ,you can keep them in an airtight container for long periods. So without wasting anymore time let's Start making "Puli pithe with Chushi".
Ingredients:-
For Chushi-
1. Rice flour- 3/4 cup.
2. All purpose flour- 1/2 cup.
3. Vegetable oil- 1/2tsp.
4. Salt- 1tsp.
5. Warm water- as required.
Preperation Method of Chushi:-
Step 1- Couple of days before first take a bowl. Add both the flours(rice flour &all purpose flour), salt , oil. Mix well.
Step 2- Next start adding warm water little by little to make a pliable and smooth dough.
Step 3- Now make small size balls with the dough. Take the ball between the palms (rub oil in your plam) of your hands and give it the elongated shape of a mini baguette.
Step 4- Now ping out a pea sized portion of the dough from it, and again rub it between the palms of your hands. Give it a shape of a grain. It would be look like a long rice grain. Follow the same with the remaining dough.
Step 5- Once done, let the Chushi dry in the sun for a good 4-5 hours for couple of days. It will help to preserve the pithe for long time in an airtight container.
image: Chushi
Ingredients for Puli pithe:-
1. Milk- 2-1/2 litres.
2. Palm jaggery- 250+150.(crushed).
3. Cardamom powder- 1-1/2tsp.
4. Rice flour- 150g.
5. Ghee- 2tbsp.
6. Coconut- 1-1/2 cups(grated).
7. Salt- 1/4tsp.
8. Hot water- as required.
Preparation Method of Puli:-
Step 1- First shift rice flour into a bowl. Add salt, ghee. Mix well. Now add little by little hot water and knead to make a soft and supple dough. Once get the proper texture of the dough cover it with kitchen towel and keep aside.
Step 2- Heat a non-stick pan. Add crushed palm jaggery(250g) and allow the jaggery to melt on medium flame. Keep stirring to avoid charring.
Step 3- Next add grated coconut once jaggery melted well. Mix coconut well with jaggery. Now add Cardamom powder(1/2tsp). Keep stirring for few minutes until you are getting a little sticky texture. Keep aside to cool.
Step 4- Pinch out a lemon size ball from the dough and flatten between your palm and fingers to make a flat disk. Place a tsp of cooled coconut jaggery mixture in the middle of the disk.
Step 5- Now fold the dough from one end and cover it up completely till all the filling secured in. This should be take a Crescent shape now.
Step 6- Press between fingers gently to close openings in the dumpling if any. Fold in protruded edge inwards. Thus folded edges appear like braids.
Step 7- Repeat the same process for the remaining dough. Keep aside once done.
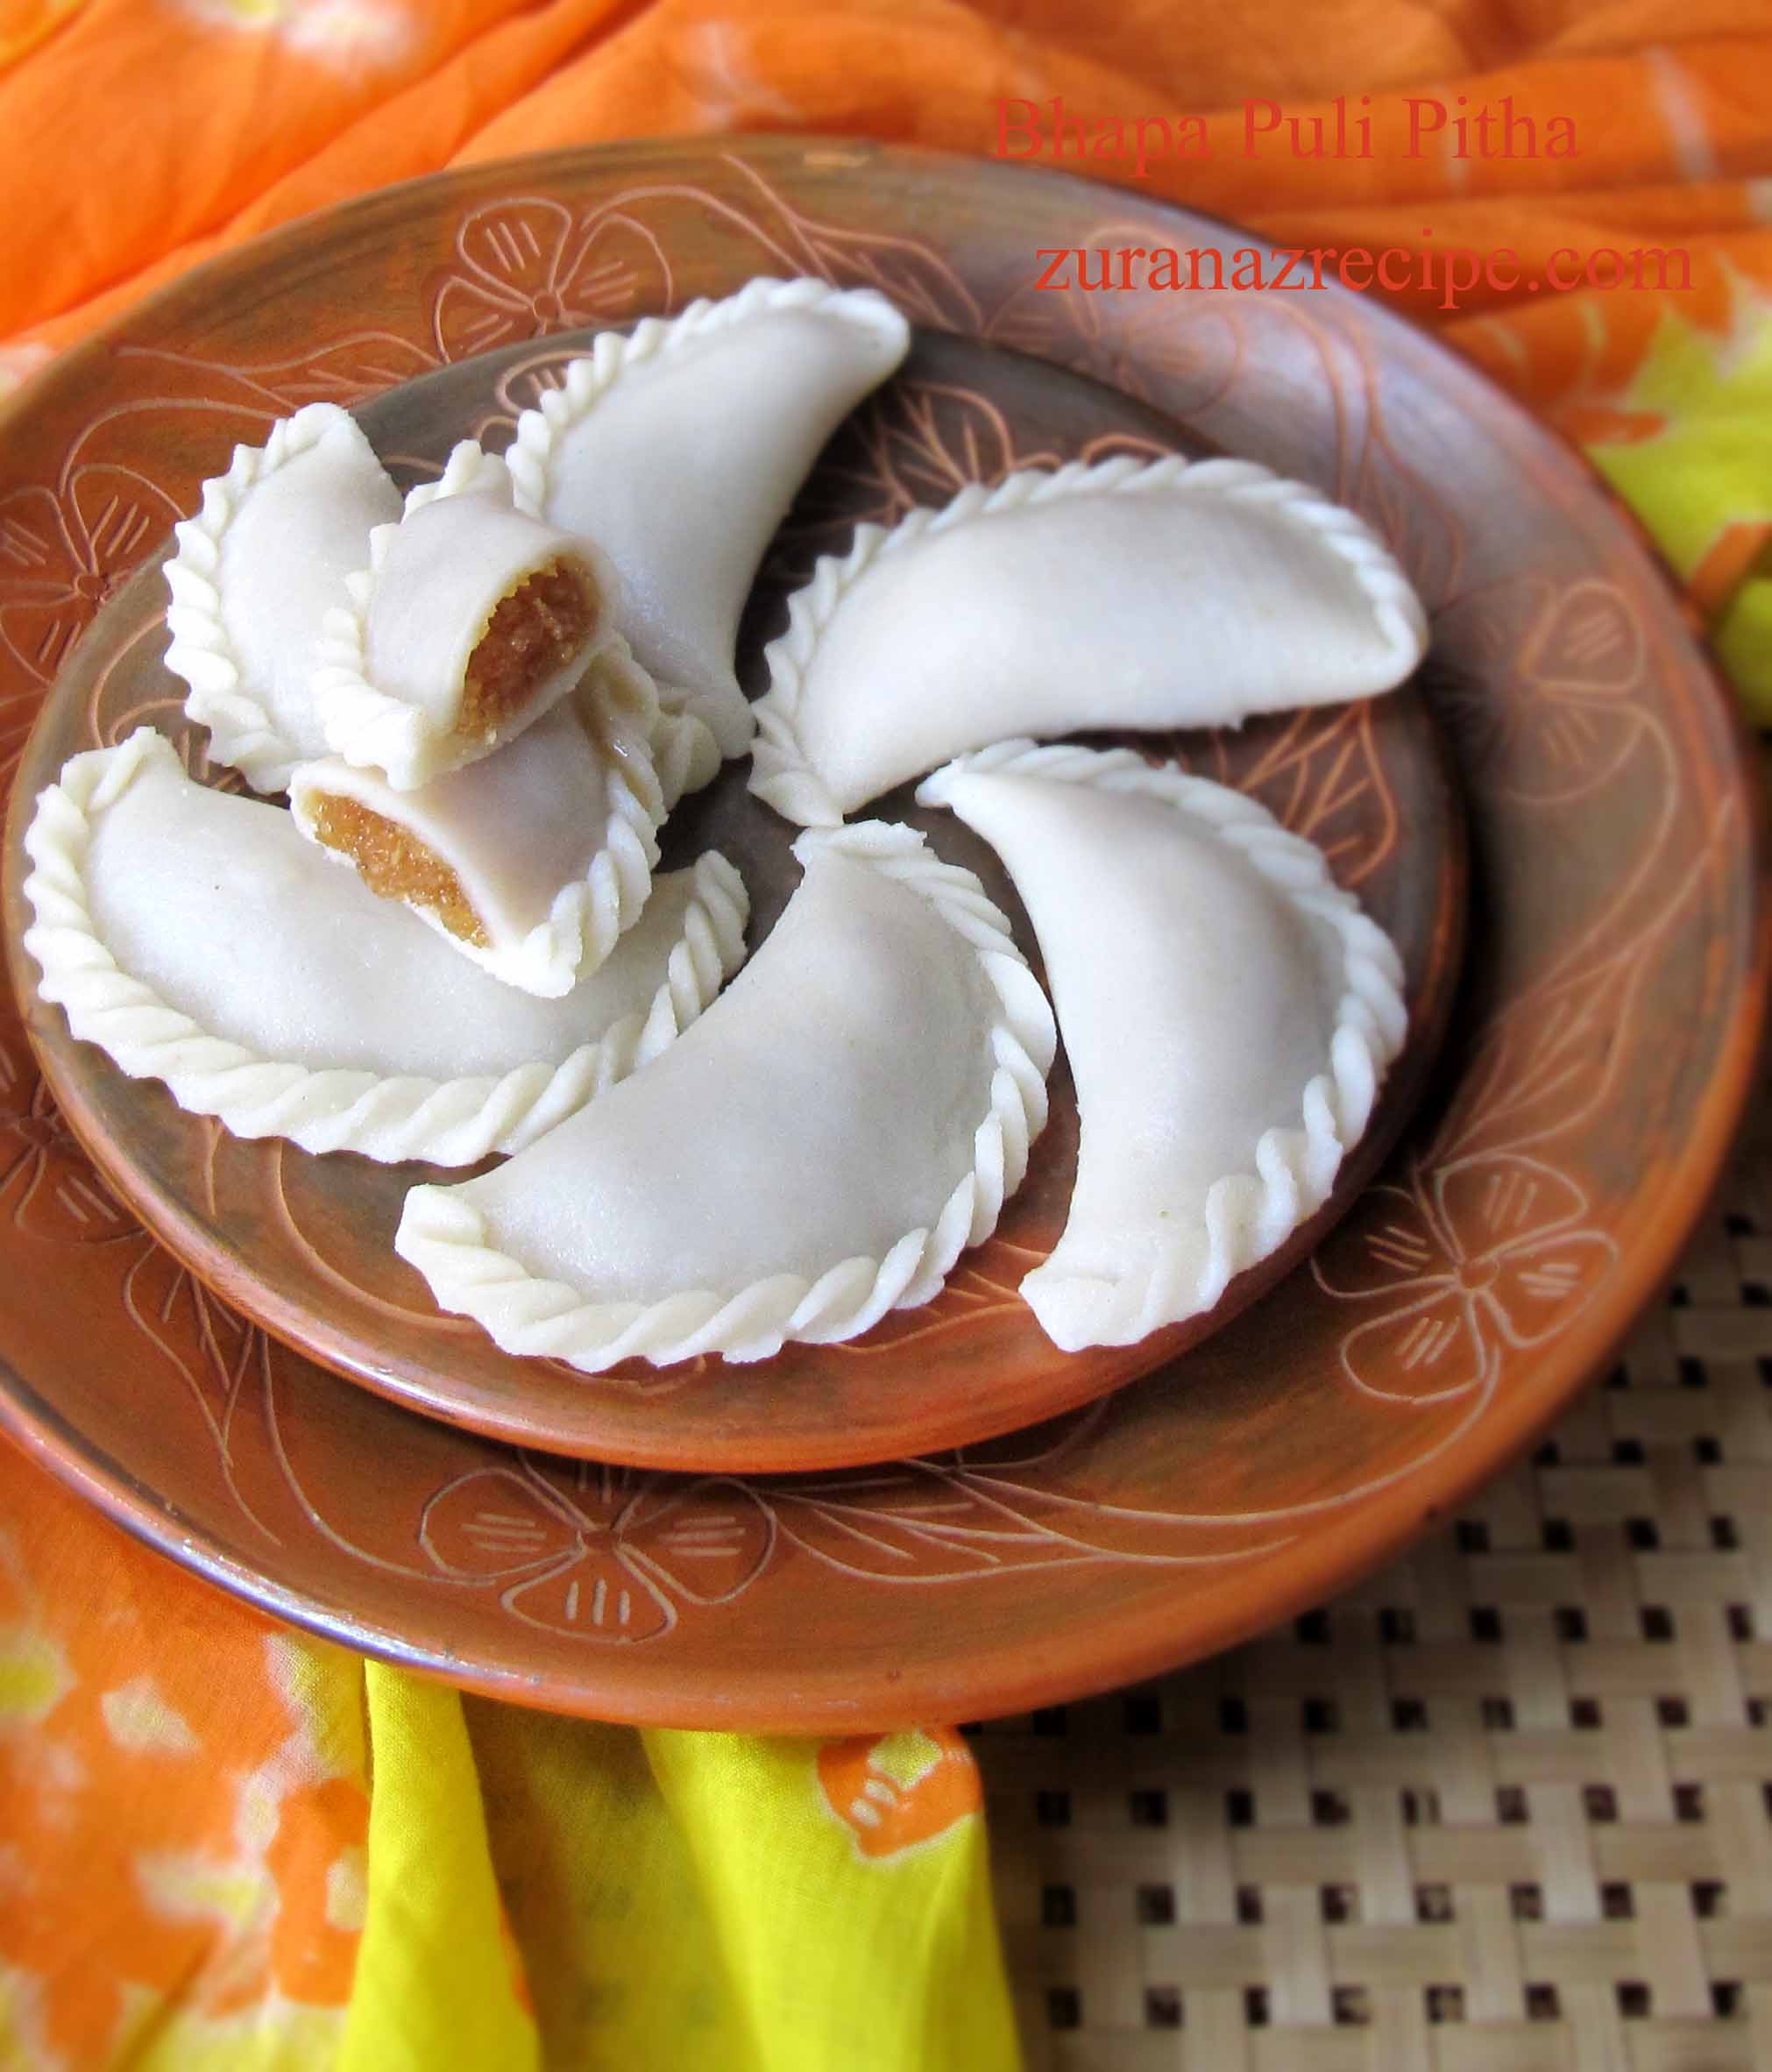
image: Puli Pithe
Assembly:-
Step 1- Boil milk in a thick bottomed pan on medium flame. Reduce milk until it will became about 2 litres.
Step 2- Now add Cardamom powder (1tsp), remaining (150g) crushed jaggery. Mix well.
Step 3- Lower the flame, carefully add chushi, and Puli one by one into the pan while milk boils.
Step 4- Cook them in the lower flame about 10-15 minutes. Keep checking the Pithas occasionally and make sure to boil them along until it properly cooked.
Step 5- Turn off the flame. Allow this pitha to cool.
Step 6- Now it's ready to serve.
## Thank you my dear friends for spending your valuable time for my post 😊❤️🙏
Comments
Post a Comment